

How do you prepare roller banner artwork for print?
The advertised width and height are only part of the brief. Understand the visible graphic, the material inside the base and the supplier’s file requirements before laying out the artwork.
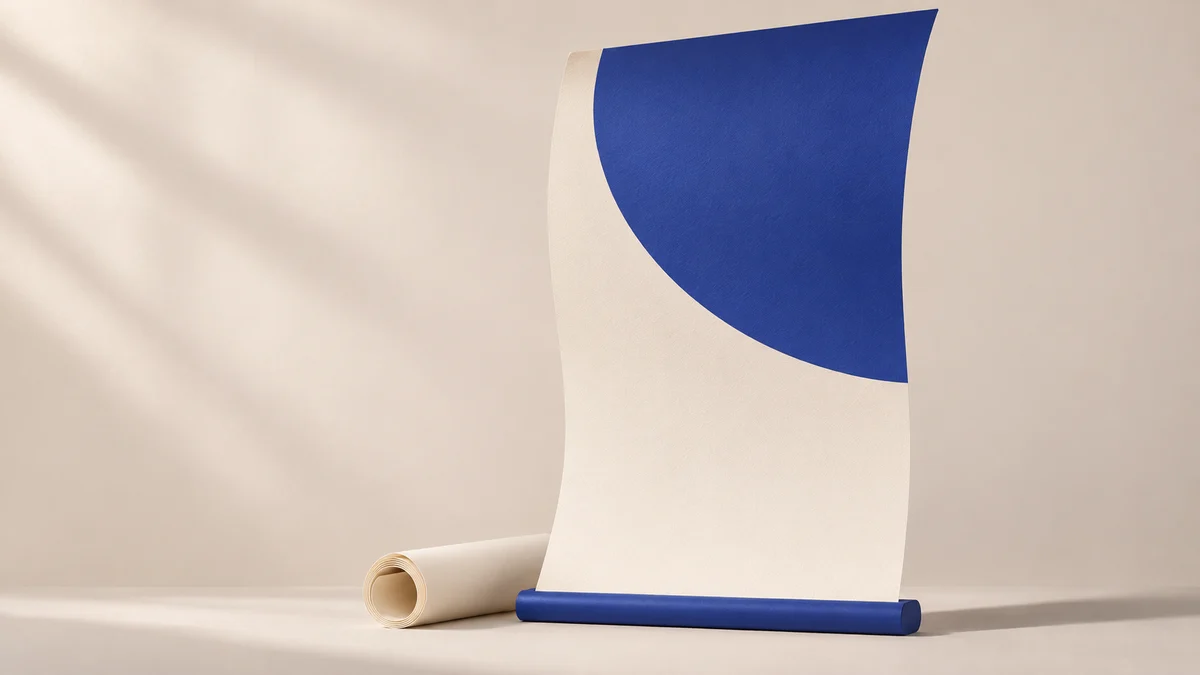
Start with the current template for the exact banner model you are ordering. Identify the visible graphic, safe area, bleed and material retained inside the cassette. Work at the agreed scale, keep essential information within the safe area, export to the supplier’s PDF specification and check the exported file separately from the mockup.
Confirm the model before setting the page size
“We need an 85 × 200 cm banner” sounds precise, but it leaves a production question open. Does that describe the visible display, the finished product or the artwork page? Confirm the mechanism and supplier before treating the number as a document specification.
Printed.com’s premium roller banner guidance tells customers to use the downloadable template for their chosen size and to keep key elements in the safe area. A generic template found online is not a substitute for that product-specific information.
We suggest recording the model code, visible size, full artwork size, working scale and template version before design begins. Confirm units too. The 85 × 200 cm figure here illustrates the question to ask; it is not a recommendation for every installation.
Separate bleed from the material inside the cassette
Adobe’s bleed tutorial shows artwork extending beyond the page edge and being included in the exported print PDF. Material retained by a roller mechanism is a separate production consideration. Do not assume that the same instruction covers both.
| Area | Purpose | Design decision |
|---|---|---|
| Visible graphic | The portion seen after assembly | Judge the message within this space. |
| Safe area | An inner boundary for key content | Keep headlines, logos and contact details inside it. |
| Bleed | Printed continuation beyond the trim boundary | Extend edge-to-edge backgrounds into it. |
| Cassette allowance | Material retained inside the mechanism | Keep required reading content out of it. |
HelloPrint’s requirements for this product specify 5 mm bleed and a 150 mm safety margin from the bottom. These are that product’s instructions, not universal dimensions for all roller banners.
Ask whether the template already includes each allowance. Adding a bottom allowance twice can be as wrong as omitting it. Resolve the page geometry before placing the logo, rather than trying to compensate after the design has been approved.
Design for the viewing distance and the furniture
A roller banner is a poor place to reproduce a complete company deck. Our starting recommendation is one main message, a short supporting explanation and, where useful, a single next step. That is an editing approach, not a mandatory content count or a performance formula.
Give the headline and brand identification a clear job at a distance. Reserve detail for someone who has moved closer. If a reception desk, table or flow of people will obscure the lower section, do not put essential contact information there.
Review a full-size sample section or a scaled placement in the intended space. Zooming into the layout on a monitor does not reproduce the reading task at the venue. Our note on physical production explains why context belongs at the start of the brief; apply that principle to the visible face of this particular banner.
Check assets at their final placed size
Enlarging a small website image to fill the layout does not create new detail. Inspect the photograph at its intended output size. Source pixel dimensions and effective resolution in the layout describe different things, so confirm the acceptable resolution with the supplier for the job and viewing distance.
Use suitable vector sources for logos and line-based artwork. Changing a small PNG’s extension does not turn it into vector geometry. Our logo handover guide explains how to choose the right source file.
Agree colour space, output profile and any proof requirement with the production team. A brand colour on a monitor is not a promise of identical colour on the chosen material. Review the photograph, logo and background as a complete print rather than checking each asset in isolation.
Reopen the exported PDF before handing it over
Adobe includes bleed settings in its print-PDF export workflow. Defining bleed in the working document does not by itself confirm that the delivered PDF contains it. Use the supplier’s requirements for PDF standard and printer’s marks instead of applying one preset to every job.
HelloPrint also instructs customers to remove template layers before exporting. Guide lines, dimensions and safe-area labels should not accidentally become printed artwork.
Open the actual PDF and check page dimensions, declared scale where relevant, edge continuations, text and image detail. A convincing preview is not a complete preflight. Obtain the supplier’s file check and production approval as a separate step.
Where the supplier asks a question about the file, resolve it against the approved version. Do not change the size or crop after sign-off without checking what that change does to the layout.
Make the approved file easy to identify
Deliver the editable source, print PDF and a visible-area preview as separately named files. Record the model, dimensions, version and approval date. Label the mockup as a visual preview so nobody mistakes it for the production file.
- Does the template match the ordered model?
- Are the headline, logo and contact details both safe and visible?
- Have bleed and cassette material been handled as specified?
- Have phone numbers, addresses and any destination link been checked?
- Is the PDF sent to production the same version that was approved?
When requesting print and production support, state whether you need the mechanism, replacement graphics or a complete unit. Share the project details with the location, size, quantity and delivery date, so design and production can be scoped together.
Frequently asked questions
Can we use the same bottom allowance for every roller banner?
No. Confirm its dimension and how it is included in the file using the supplier template for the ordered mechanism. Do not automatically reuse another product’s values.
Does approving the mockup approve the print file too?
No. A mockup helps review placement and overall appearance. The print PDF still needs a separate check of dimensions, production areas and correspondence with the approved content.
Sources and review date
Sources checked on 3 November 2026. Numerical production requirements apply to the named supplier product. Layout, handover and approval steps are LMC editorial recommendations; use the current template for your own order.